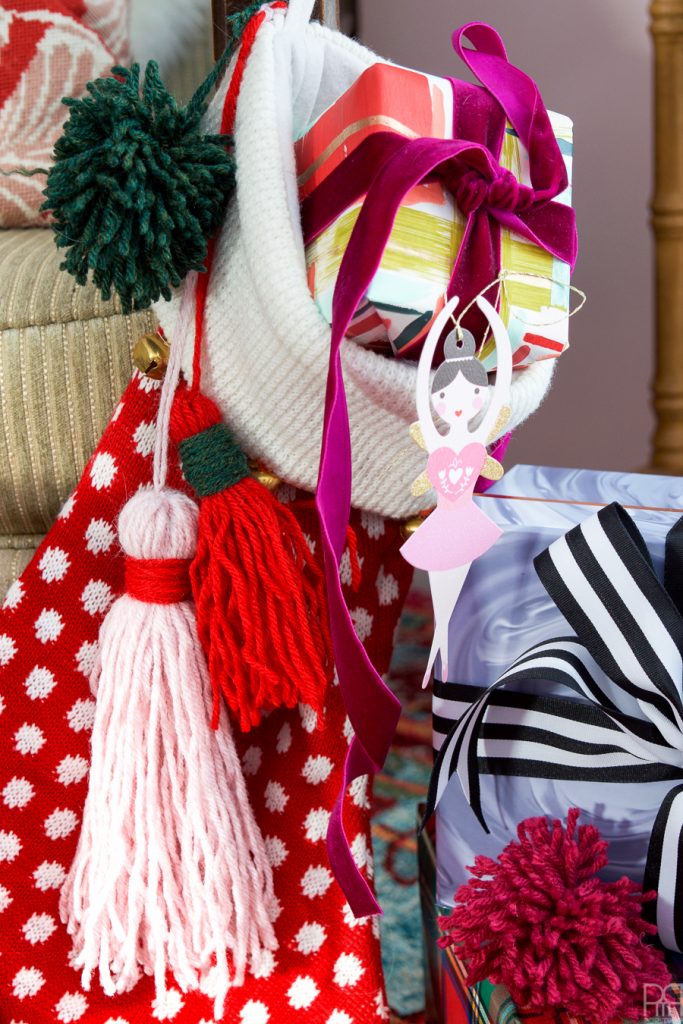
It’s December 7th and we’re already talking #12 months of DIY? That’s right! And its our last craft of the year. Can you believe it? Later in the month we’ll be recapping with our favourite projects from the series, so if you’ve forgotten what our year looked like, just wait! For this edition we’re doing all things yarn! Because I’m not a huge knitter and I don’t do wall hangings, I thought I’d breathe some new life into our Christmas stockings and tree skirt by adding pom poms and tassels in the colours of my season.
To see the tree skirt in action check-out my Colourful & Eclectic Christmas Tree Post // here //
*Lion Brand Yarn sponsored this post, but all thoughts are my own. Thank you for supporting the brands that make PMQ for two possible.

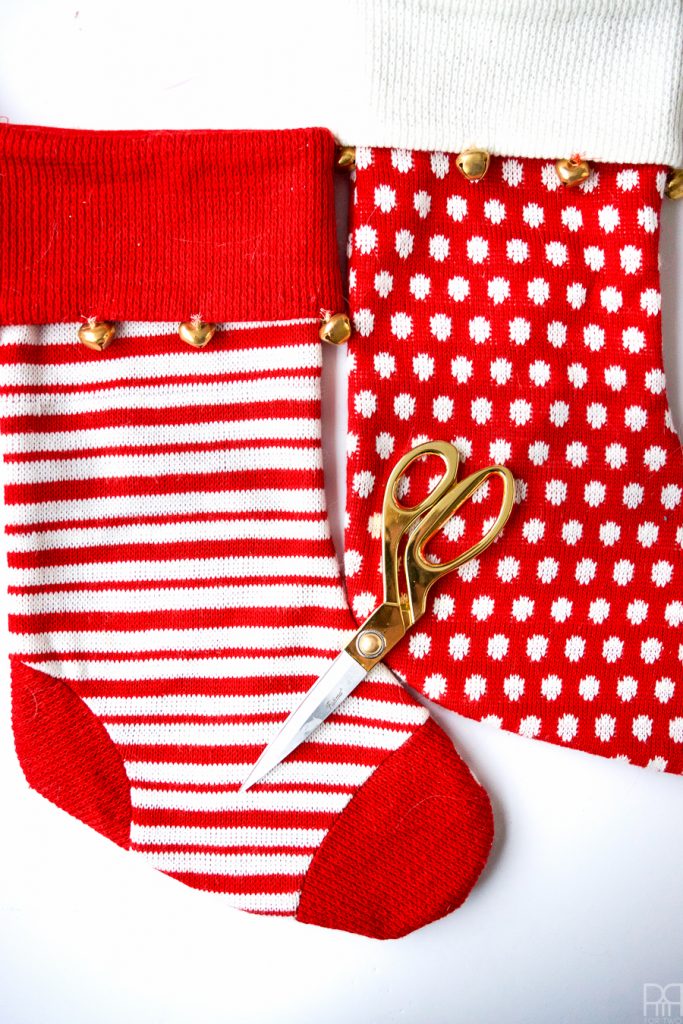
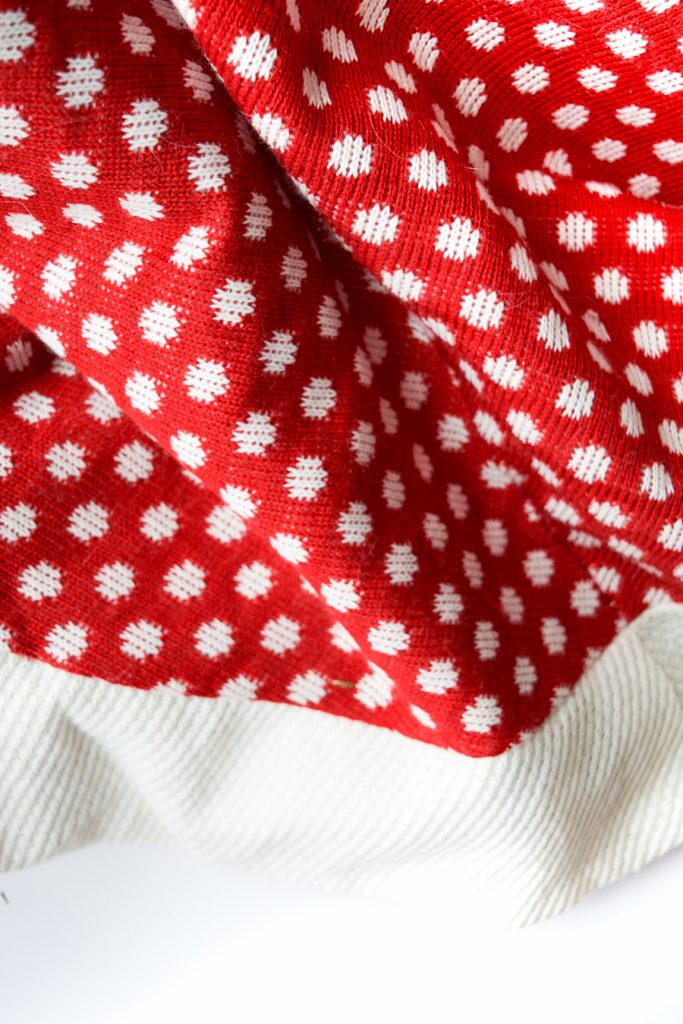
So without further ado, I present our Christmas stockings. We purchased them from Canadian tire 5 Christmases ago and got the matching tree skirt (red with with polka dots) the next year when we got our first tree. I added the jingle bells a few years ago to give me a more festive look, but it wasn’t enough. Like many elements from our first Christmases together, I cherish them because they were the simplest Christmases. I also look back and cringe because I had no clue what I was doing.
I know, you’re thinking this is a super easy and simplistic DIY, why bother?! I’ll tell you why – because it’s low cost / big impact, and gave me great joy in the evenings while watching Christmas movies. Sitting there wrapping pom poms and tassels as a way to unwind is kind of fun.
*The following product links contain affiliate links. Thank you for supporting the brands that make PMQ for two possible. For my full policies click // here //
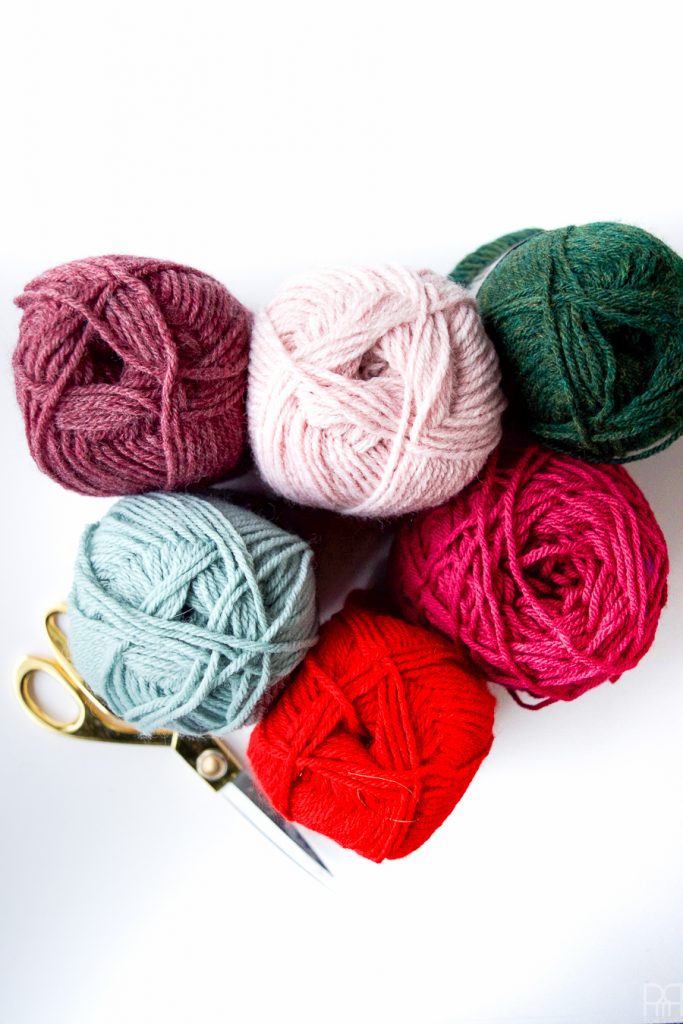
Materials
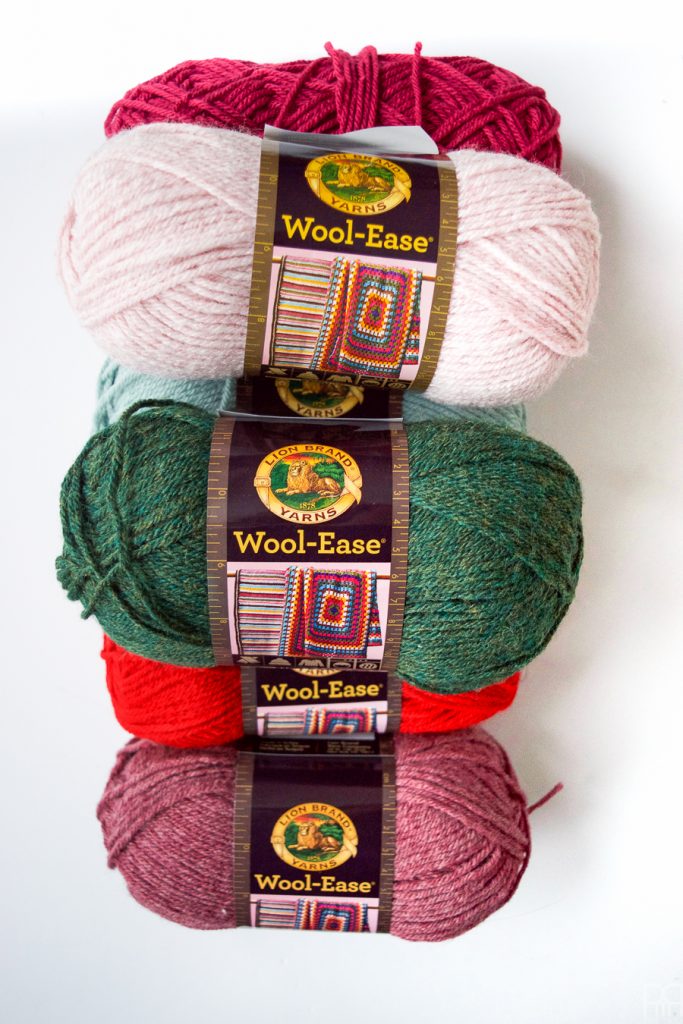
- 5 skeins of Lion Brand yarn – I used these colours: Wool-Ease® – Eggplant – 167
- Scissors
- No-Sew fabric Glue 4oz
- Time and your hands
- Tree skirt + Stocking

Part 1: Making a Pom Pom
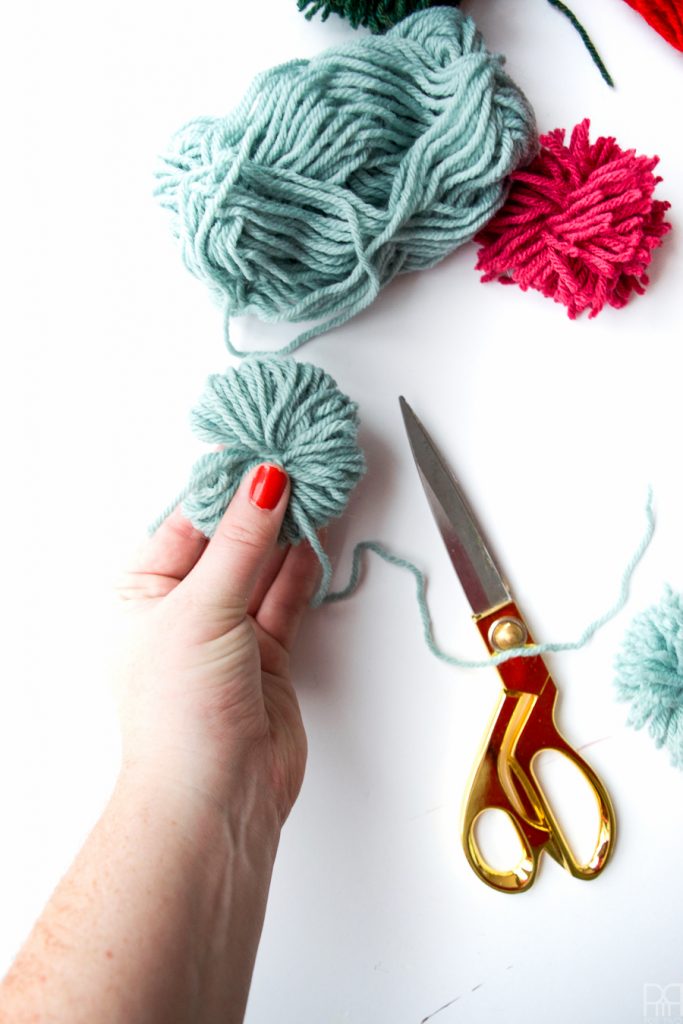
Step 1: To make a pom pom you start by deciding how big you want it to be. For the purposes of our tree skirt I went with 3 fingers wide.
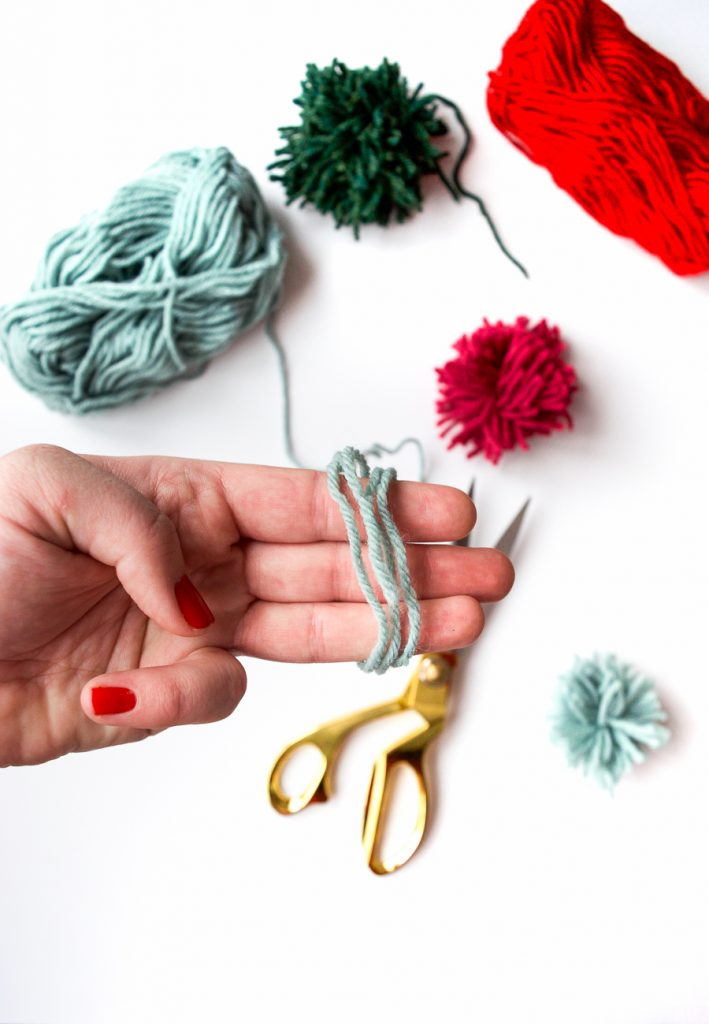

Step 2: Start wrapping your yarn around your fingers. You’ll do this a quite a few times. The more times you wrap the yarn, the bigger and plusher it’ll be. I wanted big ol’ fatties so these pom poms were hefty.
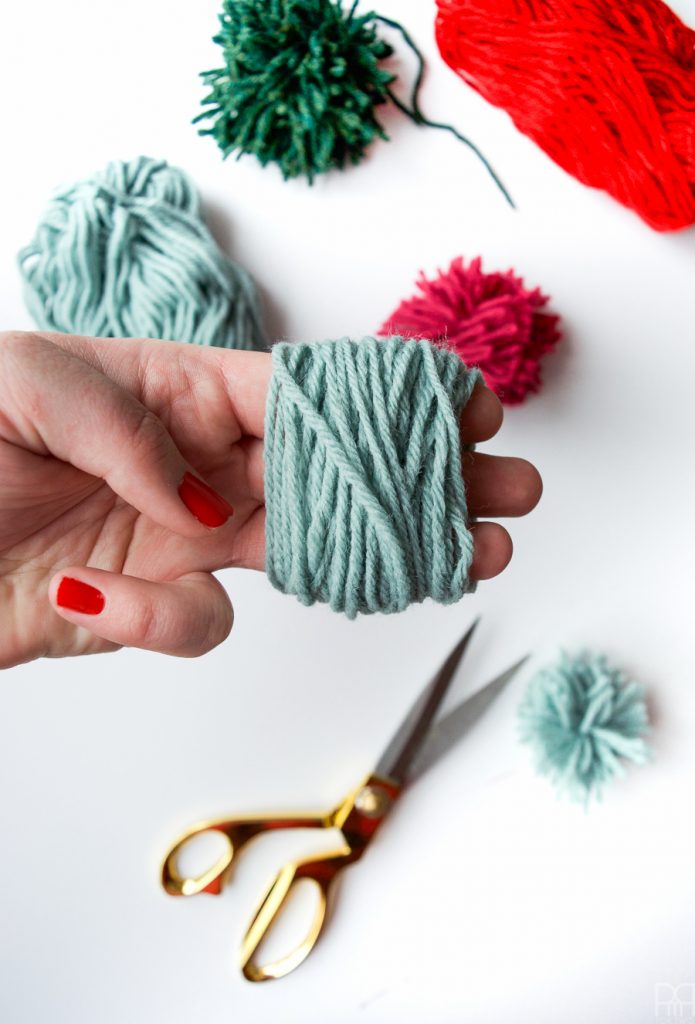

Step 3: Once you’re done wrapping the pom pom you need to tie it off. This is where having 3 fingers comes in handy. I remove the middle finger from the pom pom to make it easier to slide my tie-off yarn inside. I can’t properly explain this part, so I’ll just show you pics.


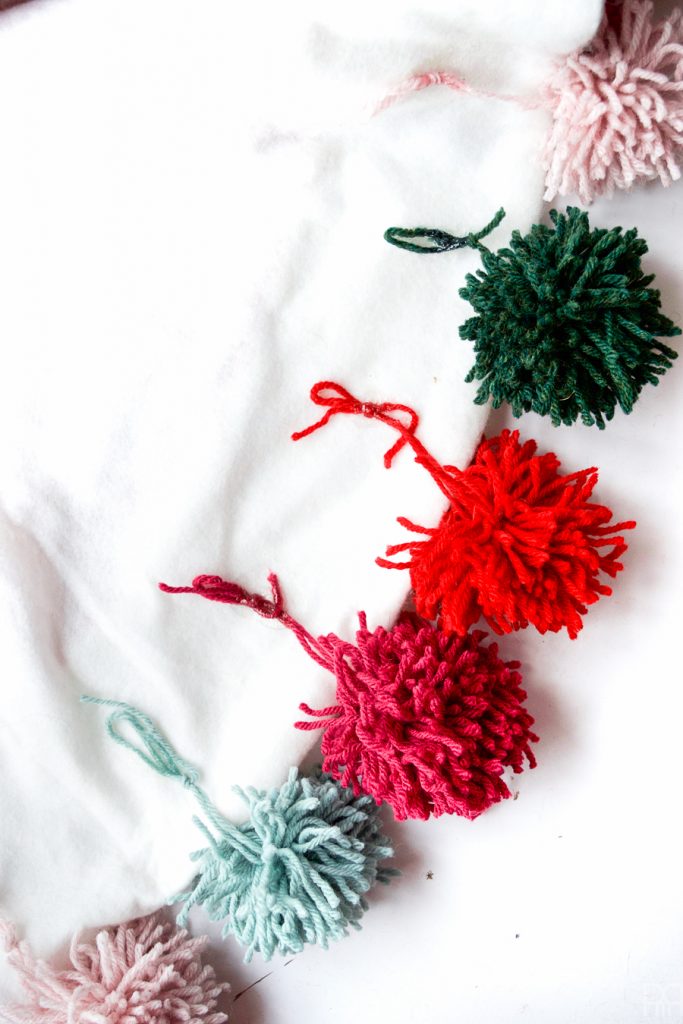
Step 5: When tying-off, make sure you leave a loop or tail to help fasten the pom poms to the tree skirt. No matter how tight you fasten the cinching part, the strands will always be a little loose and if you pull hard enough they’ll come out.
Step 5: Cut down the middle of each bunch of loops.
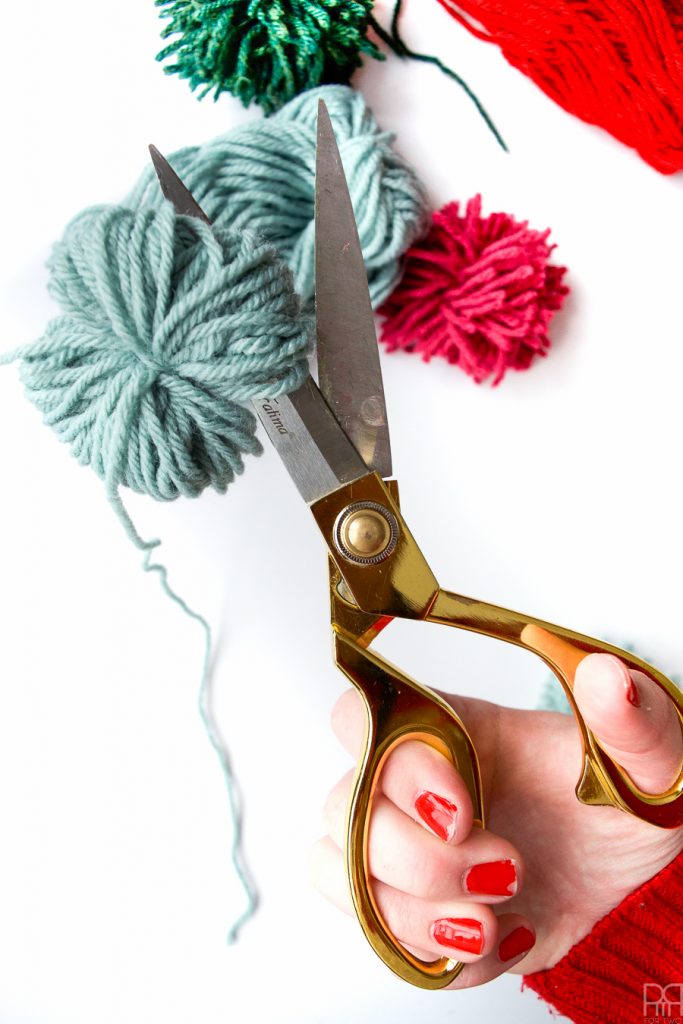
Make however many you needed for your tree. I needed about 10 in each colour for a total of 50.

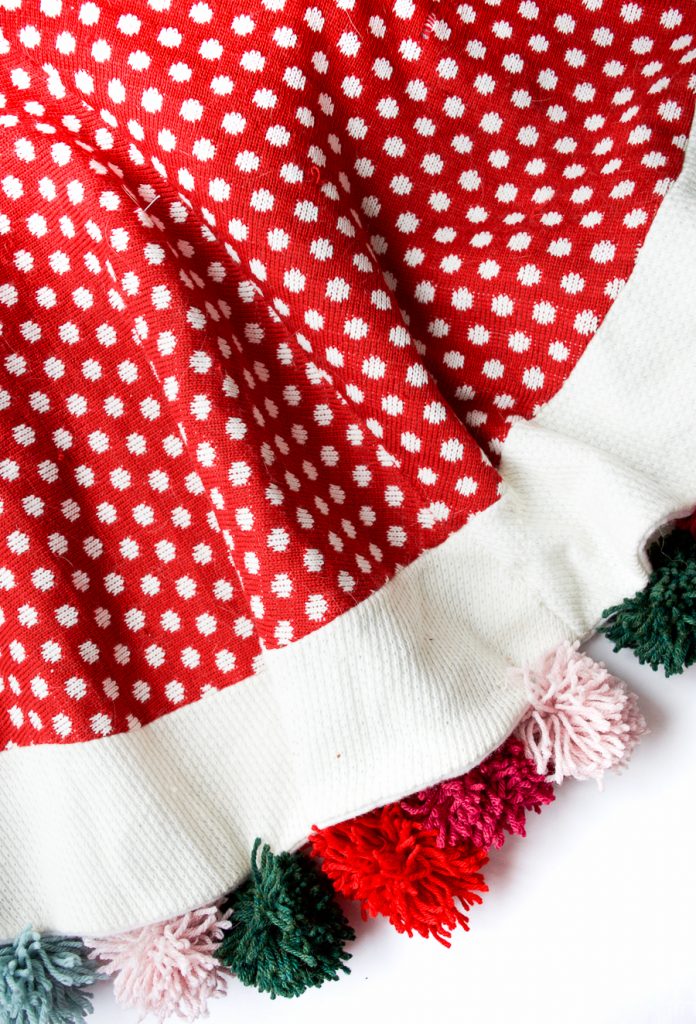
Step 6: Time to attach these suckers to your tree skirt. Flip the skirt over and glue the loops from each pom pom onto the skirt.
Only once it’s fully dry do you flip the skirt over and instal it back under the tree. Beware, if you have cats that like to look angelic under the tree they will also be tempted by the pompoms.

Part 2: Making a Tassel
If you thought making a pom pom was simple, you ain’t seen nothing yet.
Step 1: Decide how long you want your tassel to be. In my case I opted to create a long and a short one. I used a book and my phone as the guides.
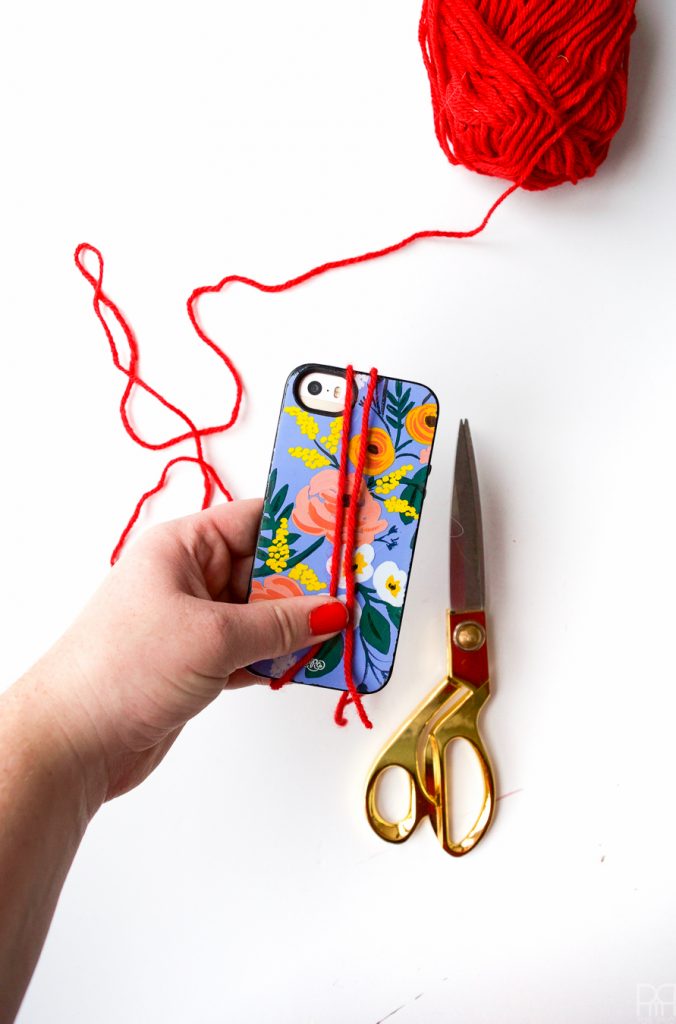

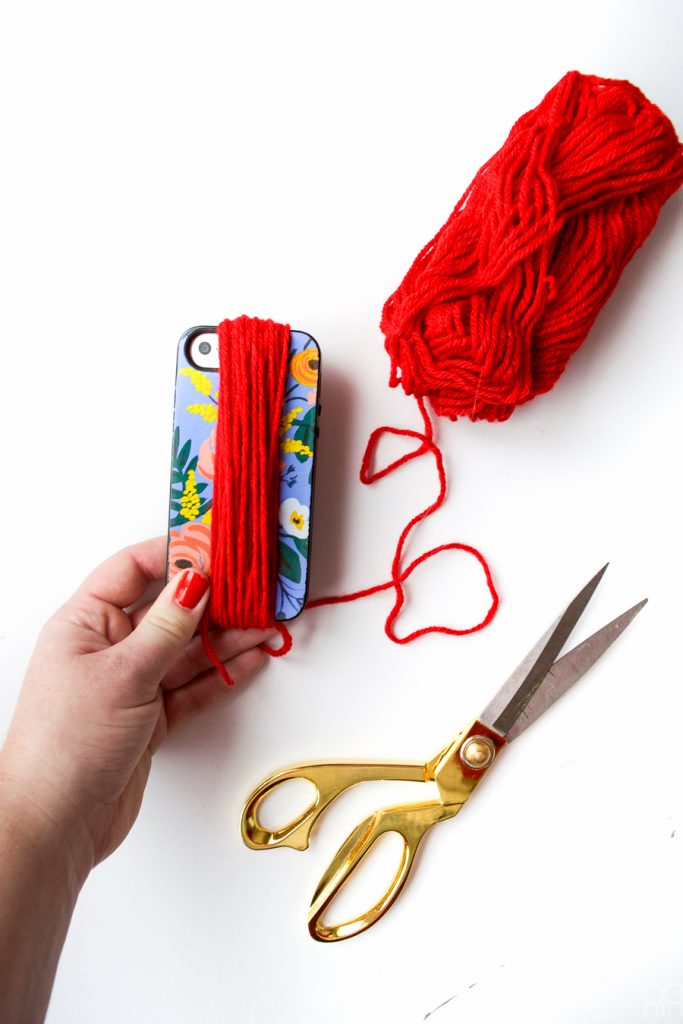
Step 2: Like with the pom poms, start wrapping your yarn around the book/phone until you’ve achieved your desired thickness.
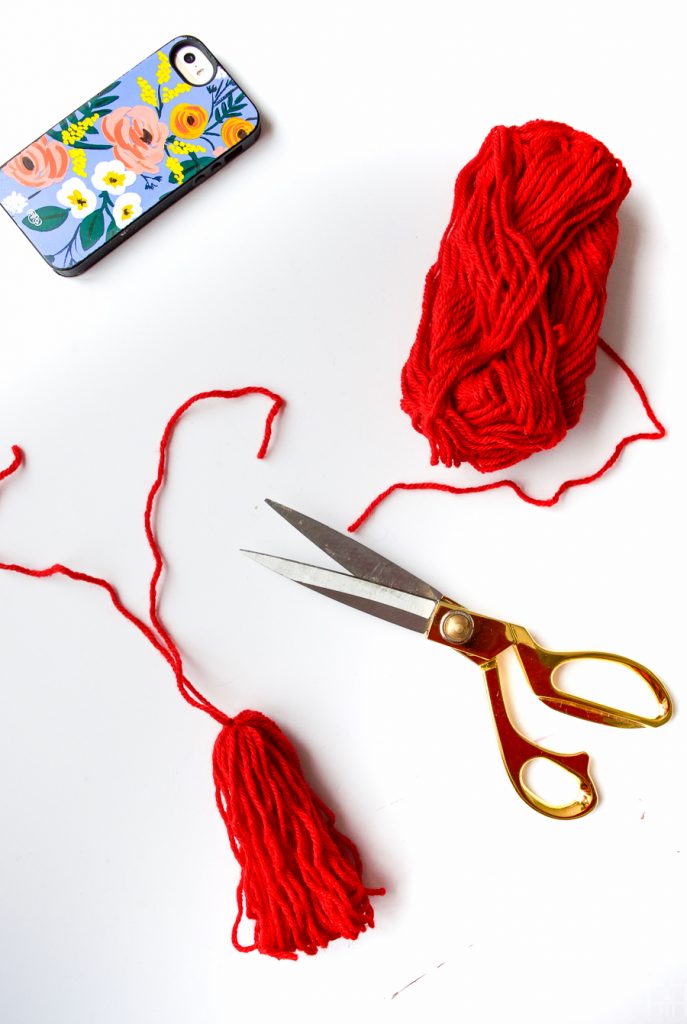
Step 3: Run a piece of yarn under the top of your tassel to cinch the strands. Always leave enough yarn after tying the knot so that you can make a loop to use to attach it.

Step 4: Using another piece of yarn (or suede – in any colour) wrap the top of the tassel tightly to help keep everything cinched.
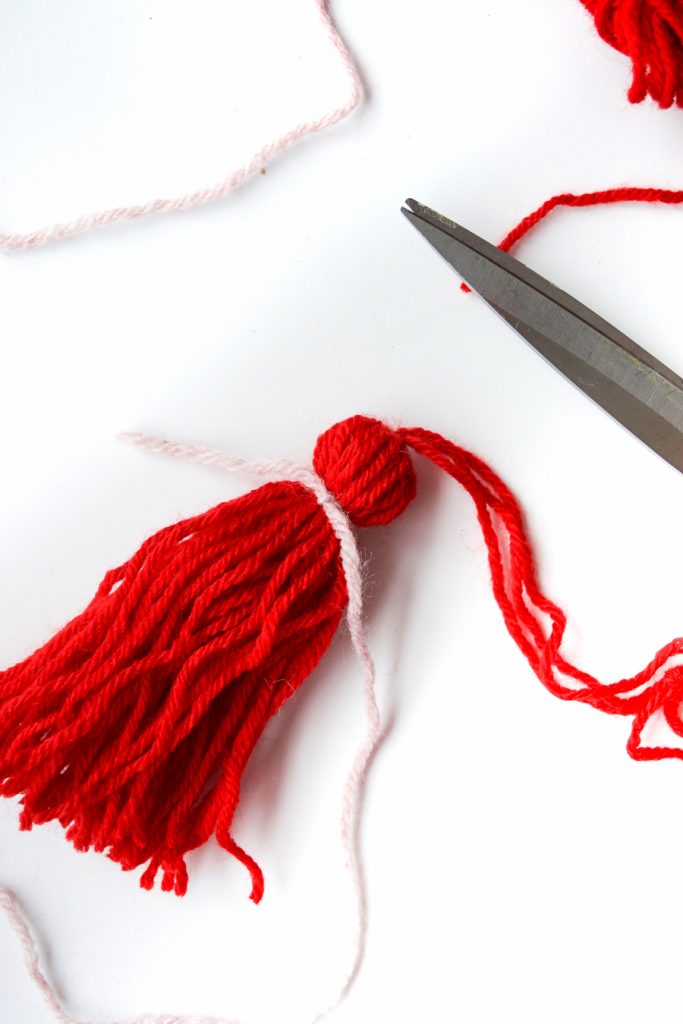
Step 5: Like with the pom poms, once everything is secure, cut through the loops at the bottom.
Step 6: Attach smaller pom poms to the tassels, or just attach them to your stocking. I did by adding them through the loops.

And there you have it! The easiest way possible to bring your stockings and tree skirt up to speed if you’ve added new colours to your Christmas palette.
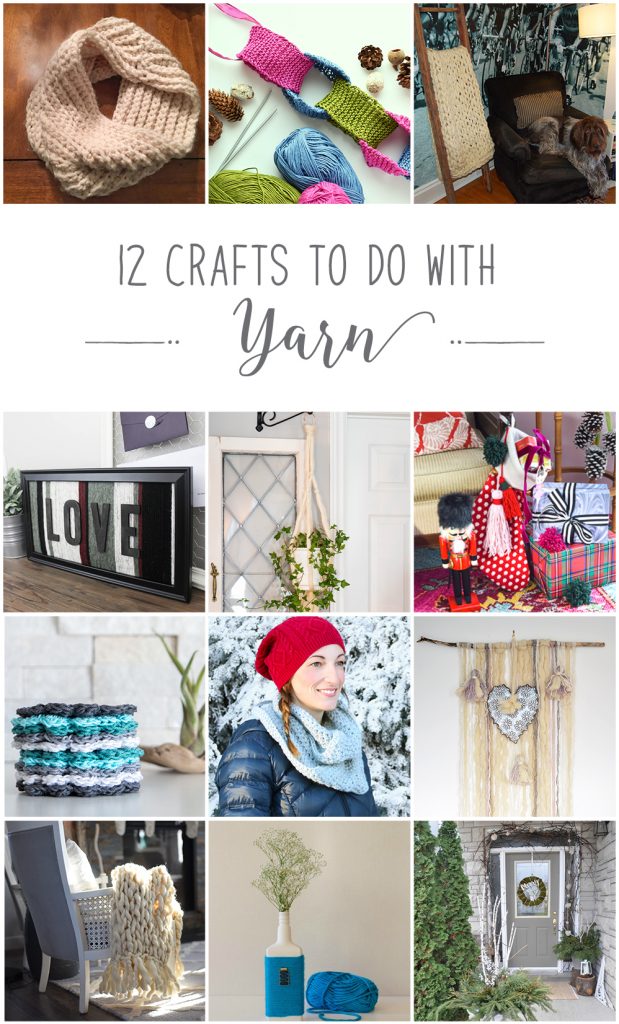
Now it’s time to see the rest of the DIY YARN project ideas from my Canadian blogging friends.
From the top left, they are:
Crochet Cowl from Brooklyn Berry Designs
DIY Chain Yarn Garland from Woman In Real Life
Easy Arm Knit Reading Blanket from Heather in Heels
Creative DIY Art Using Yarn from Love Create Celebrate
Easy DIY Faux Macrame with Wool from Vin’yet Etc.
DIY Pom Pom and Tassel Stockings and Tree Skirt from PMQ for Two <– you are here!
Free crochet coaster pattern for beginners from Sustain My Craft Habit
Beginner Crochet Infinity Scarf from Fresh Crush
DIY Yarn Wall Hanging from Lifeovereasy
How to Make an Arm Knit Blanket with a Fringe from The DIY Mommy
Make Embellished Yarn Wrapped Glass Bottle Vases from Time With Thea
Christmas Front Porch from Life Is A Party