[social_warfare]
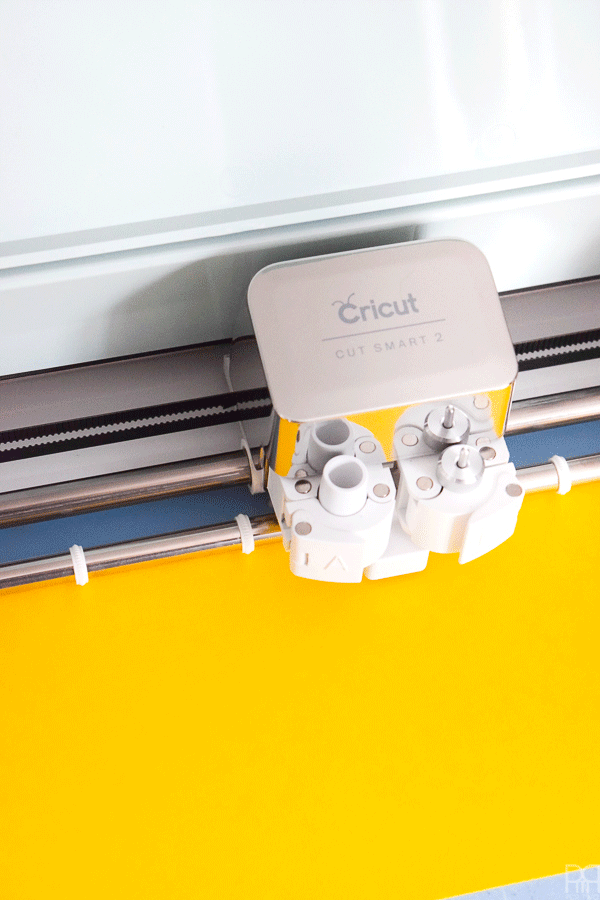
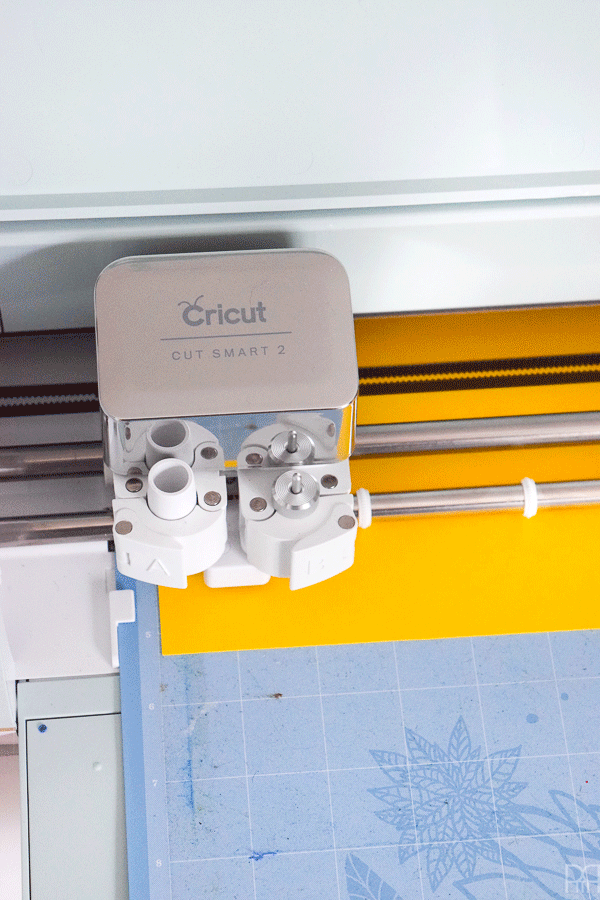
The Cricut works much like a standard printer, by moving a blade or pen on a horizontal axis (side to side) while two wheels move a mat with your desired material along a vertical axis (back and forth).
You can see in more detail here as it moves the housing cartridges side to side while moving the cutting mat backwards.
And you can see how the mat moves while it’s cutting a triangle here:
Operating the machine starts in the Cricut Design Space // here // where you’ll select and customize your project based on what material you’re using and whether or not you use a Make It Now project, or one of your own creation. If you need help figuring out the software check-out my guide to that // here //.
For help with the Make It Now projects // here //
For help with making your own project // here //
Once you hit GO on your project, the machine will send the data through Bluetooth or through the cable connection you’ve established, to your machine. Wait for the prompts from your machine to load the mat and then hit “GO.”

The flashing light means the machine is ready to load your mat. Slide the ends under the little lips on either side and push it forward as the two wheels grip it and pull it forward. Once the mat is loaded and you are satisfied everything is straight, press GO.

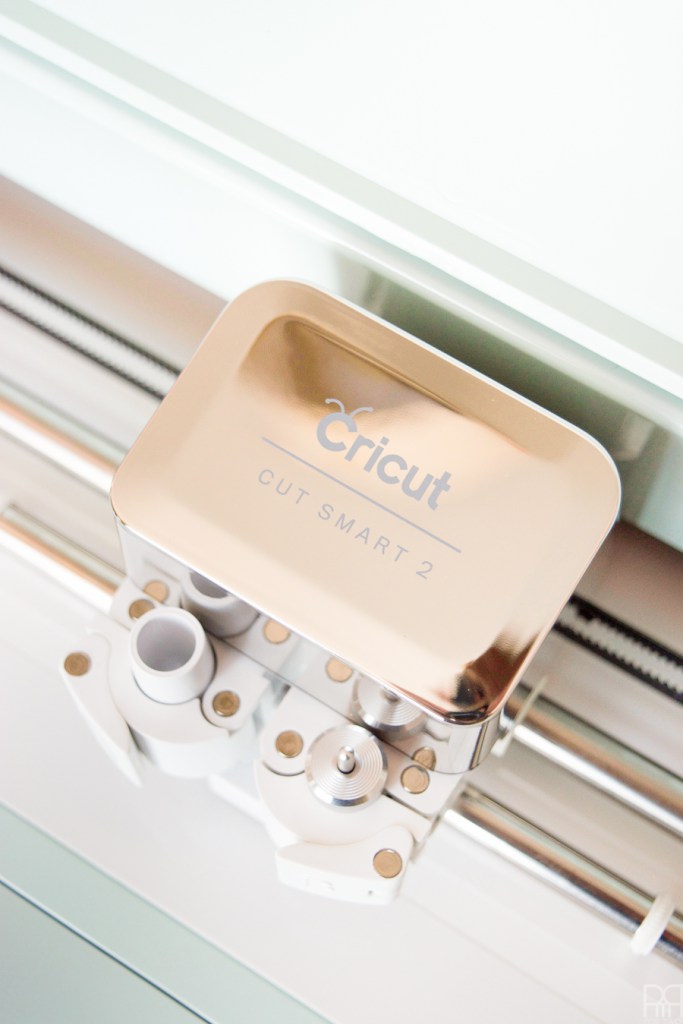
Depending on weather or not you’ve got a blade or a pen (or scoring stylus) loaded in the A and B housing, the machine will then apply the necessary pressure to your material to either cut or draw or score.
When your project is done, the machine will slowly feed-out your cutting mat and you can proceed to cut any remaining layers or materials, or get to assembly!
Back to the PMQ for two Guide to the Cricut Explore Air 2


